Sunday, May 27, 2012

Corel Painter 12 Works

Ill admit, these are lousy pictures, but the teacher was boring, never really taught us anything, and i drew without even listening thanks to boring lectures about other peoples arts, etc.LOL. And i also confess i never was good at 3d painting, this was my first try taking the class, and i don notice myself getting better. Now i just need to find time to check out tutorials, and practice, practice, practice!
but here are my works done in order(first drawings first, last drawings, last....)

Project 1: 4 drawings:


Project 2: These were supposed to be 4 drawings of one thing, but each changed up slightly to give different final look, but i ended up doing one long project and just showing in 4 slides the final looks of each, but really its just showing how i got from the first image all the way to the last image, 4.Its got a story to go along with it. Enjoy guessing. That story i wrote long ago 20 pages, and stopped. But i might rewrite with better understanding later.


I know it still looks unfinished or meh, but at least i finished in time for due date!LOL.

Project 3: Master copying. K. Alain self portrait copy.


Just one this time, but took awhile. I changed up some very visible parts(left side of face) on purpose.For fun


Project 4: Self Portrait


What can i say, i have a wild imagination and he let us use it! 


Note: In case you didnt know, this is a 72dpi file so its easier to load and all, real one is 300 dpi. Much better resolution/quality.


Autodesk Maya Works

I took 3 classes, intro, texture(learned lil bit because teacher himself had trouble since he changed the whole class up)so ill be buying books to better myself, tuts.and Lastly is character design.The design was supposed to be made by a different artist so we could learn how real life job works. My "employer" so to say was Rory Adams. The character i made is a female librarian named Erin.I know some minor issues, but fix is later. I had a deadline(and since im full time student, 5 other classes to worry over, tragically passed this class with an A;))), but anyways, sorry that its not close up turnaround shots, but that comes later after a few glitch fixes.


The last 2d image is the original work, i chose to do a different pose than the one shown here. It was a quick  sketch by the artist, and very little time, thats why the pose of my character looks sort of unreal, but oh well. This was a sculpted done. If i had had enough time to do rigging and weights/etc,  i would have done a better pose. Next time.Enjoy.

All rights to the original character to Rory and 3d model to me. No using, unless allowed by me(not likely, its not even my character design.LOL)

Sunday, January 1, 2012

character Design

i did most of the character research( photo references for my drawings) before my fall college semester ended. but then from then on, all the work you see here was done in less than 2 weeks(people do this in 3-4 months)

my character design is in order. to goes from environment sketches, costume sketches, anatomy sketches, head.face sketches, expression sketches,posture, and the final character with all things i learned together in one drawing.
i would also like to add that all these are done in photoshop(and no ive never learned photoshop..this is sorta self learned as i drew..lol)


character roughs: do ten roughs of character.broaden your view. make character as unique and different styled as you can.find your own style.


Character anatomy: 3 or more views of character and skull overlay.


Character Costume:  do 10 sketches of  costumes on character, in 3 or more views.(so that's more than 30 sketches).


Character Emotions: 10 or more drawings of expressions.


Character head/face: character roughs(first slide of drawings), head skull overlays, and character head/face draw:3 views minimum for skull and head(roughs are sketchy and free).


Character posture/movement: 15 or more drawings, 3 or more views. character posing differently. Also add sitting, walking, running, jumping, reclining, standing with your own creations.


Environment Sketches: 10 different environments, from architect to interior to landscape.


3 final variations: do 3 different variations of your final.


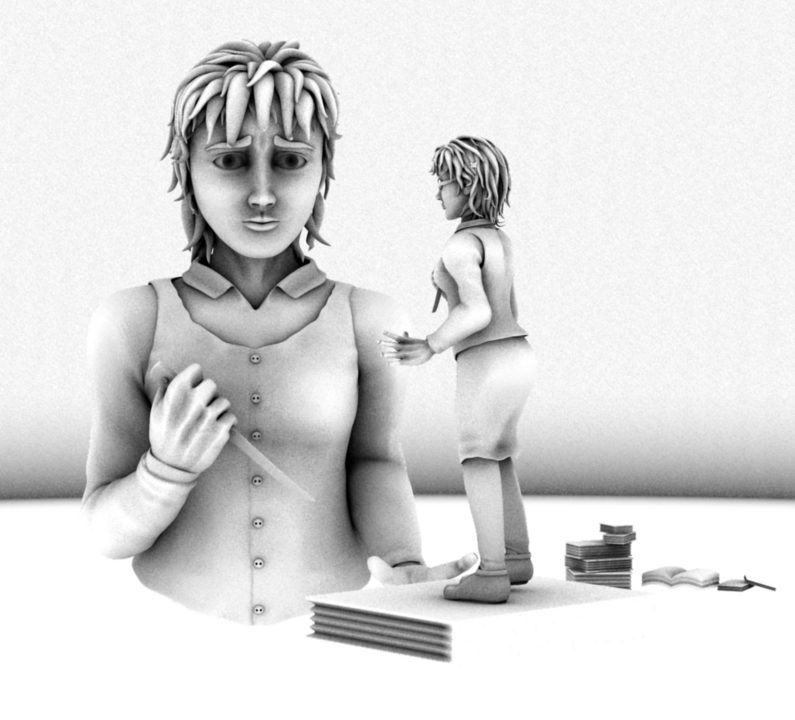
Final: This is one of the variations from above refined and changed and colored.


>> this is not much of a tutorial, but more of what i have self learned using the paper i got from college to prove that i can challenge, and get credit for character design class without taking it....but i do hope this helps other for reference. Remember....for each bulletin, you must have found 5-15 references of photos to help you with your own creations. mine were very closely outlined with references, but the final is my own style all the way. Character designing is not about copying a style, but finding your own style. enjoy!
...and keep in mind that all you see is done in Photoshop cs5 with no real skill or knowledge of the software involved.